top of page
Search
tomsenior

The Dial

Updated: May 3, 2019

This section details the manufacture of the dial, using pre-purchased roman numeral figures. In crossing out the centre of the dial, I used my new Vallorbe needle and escapement files - which leave a perfect finish.

Wooden disc mounted to the 9" face plate

Numeral sizing disc machined on the face plate. Note counterweight on the opposite side of the face plate.

Numeral in the sizing jig, prior to filing it to final size.

Numeral with a snug fit in the sizing jig, post filing.

The dial marked out on the brass sheet.

The dial mounted in the lathe, ready for turning.

Making a trepanning cut to remove the waste stock.

Central waste stock removed.

T profile tool for cutting the numeral location grooves.

Cutting the numeral mounting grooves. with the custom T-tool.

Machining the minute markers in he dial ring

Completed minute markers on the dial ring.

Dial ring ready for trepanning cut.

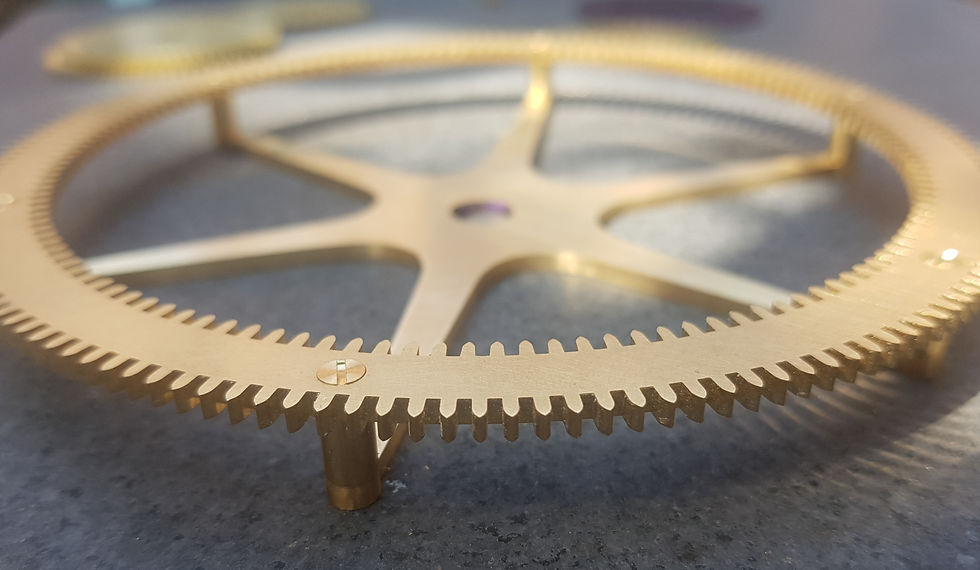
Completed dial ring.

Cutting the waste stock on the milling machine and dividing head.

Waste stock removal.

Waste stock removal - tapered spokes are more difficult to cut than the circumference.

Milling completed.

Dial centre section post-milling, ready for filing.


Wooden mounting disc

Finishing dial, along with considerable waste stock.

Completed dial rings.

First numerals inserted into the dial, providing sufficient force to keep the two dial rings concentric.

Numeral fit up, prior to soldering.

80 views0 comments

Recent Posts

See All

Great Wheel

Comments


bottom of page